Contents
・ Download Installer
・ For Windows
-> How to install QaseeClient
->Account settings
-> For Norton Security Premium users
・ For macOS
-> How to install QaseeClient
-> Account setting
Download Installer
Please download the appropriate file for your OS from here.
| OS | Download file name |
|---|---|
| Windows | SetupQaseeClient_*.*.*.msi |
| macOS | QaseeClient_*.*.*.dmg |
(「*.*.*」area will change depending on the version.)
For Windows
How to install QaseeClient -for Windows-
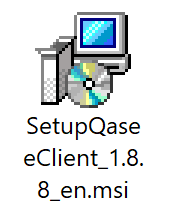
- Run the downloaded installer named 「SetupQaseeClient_*.*.*.msi」.
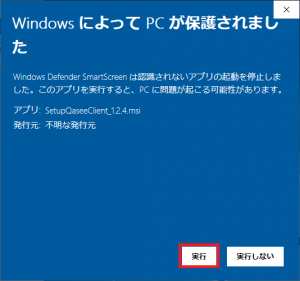
- When the following window appears, click “More Info” and then click “Run anyway”.

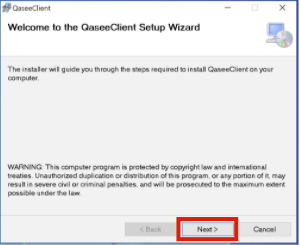
- The QaseeClient setup wizard will launch, click “Next”.
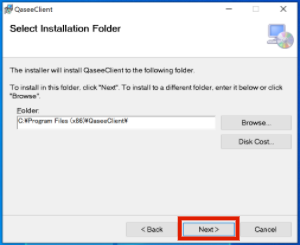
- Select the installation folder and click “Next”.
By default, “C:\Program Files (x86)\QaseeClient\” will be selected. There is no need to change
it.
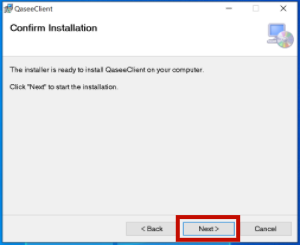
- When the “Confirmation installation” message appears, click “Next”.
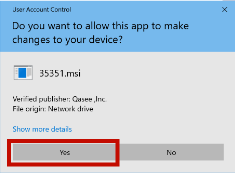
- When “User Account Contril” message appears, Click “Yes” to start the installation.
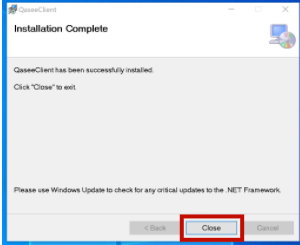
- When the message “Installation Complete” is displayed, click “Close” to complete the
installation.
Account settings -for Windows-
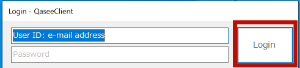
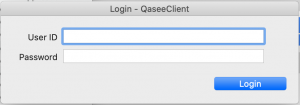
When the installation is complete, the following window will appear. Enter the user ID (e-mail address) and password you used for web login, and click the “Login” button.
※Caution※
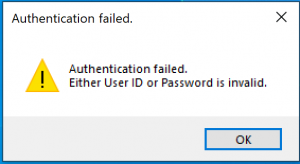
If the following window appears and login fails, please check your ID and password again and try to login. If
you still fail to login, please contact us.
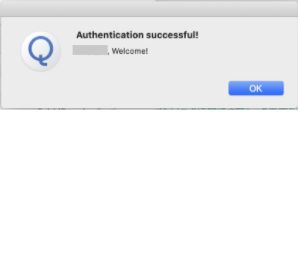
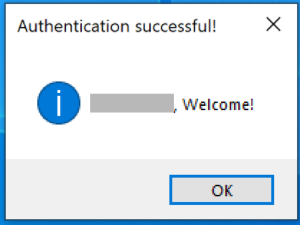
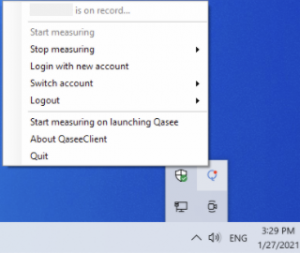
If the login is successful, the following window will appear. The icon will also appear in the notification area, and
you can right-click on it to see the account you are logged into.
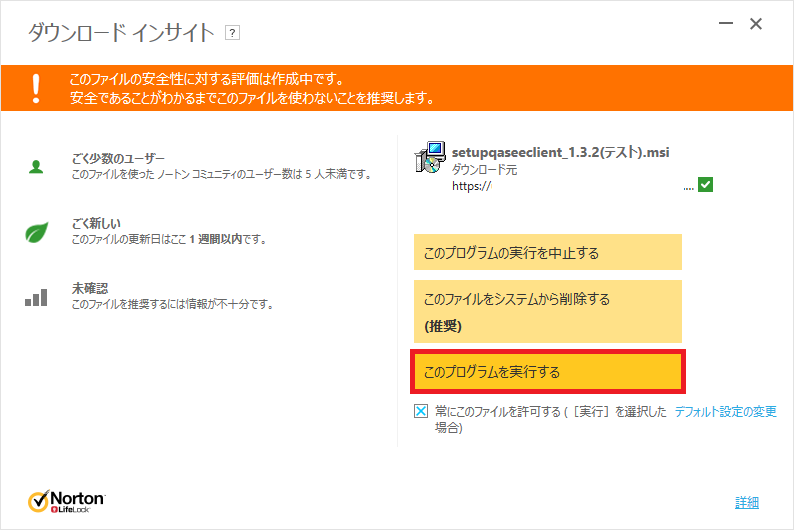
For Norton Security Premium users
If the following message is displayed when running the installer, click “Run this program”.
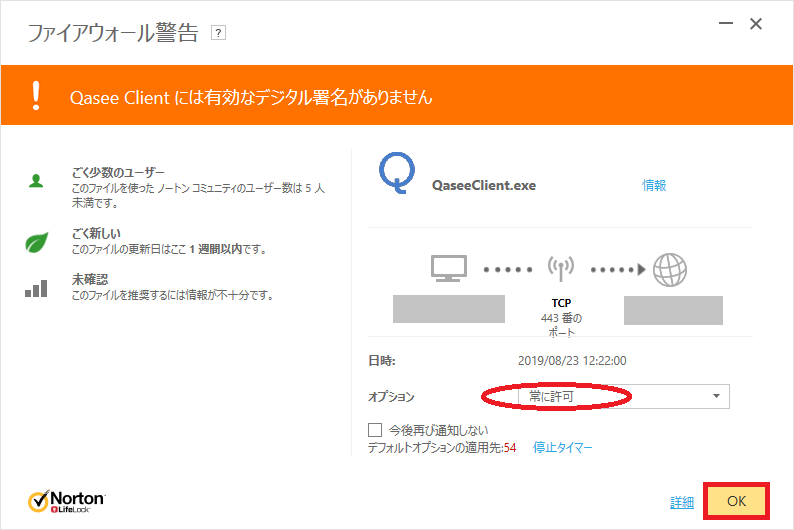
After logging in, if the following is displayed, select “Always allow” under “Options” and click
“OK”.
For macOS
How to install QaseeClient -for macOS-
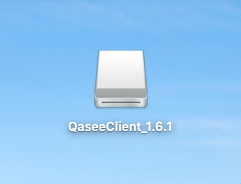
- Click on the downloaded “SetupQaseeClient_*. *. *.*.dmg” by double-clicking it to open it.
- Drag and drop “QaseeClient.app” to the “Application” Alias.
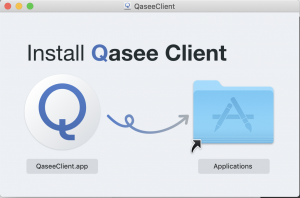
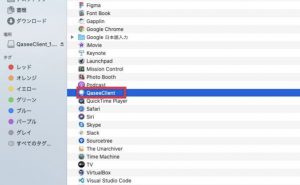
- Double-click on “Application” Aliases to check that QaseeClient has been added.
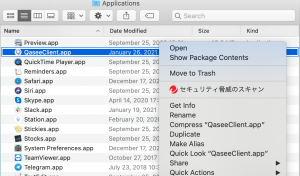
- Then right-click to bring up the menu tab and click “Open”.
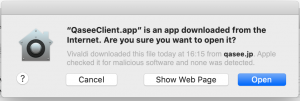
- *If you double-click at this point, the following error message may appear.
Click “Open” and “OK”.
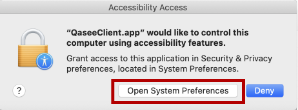
- When the following message appears, click “Open “System Preferences””.
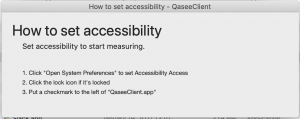
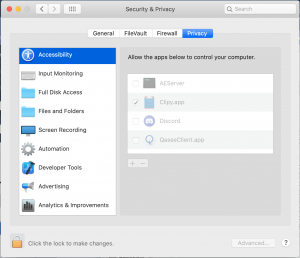
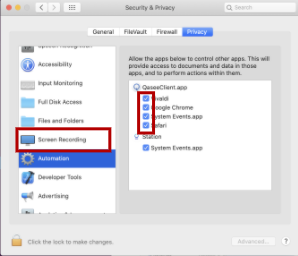
- Open Security and Privacy, select the Privacy tab, and click on the key symbol.
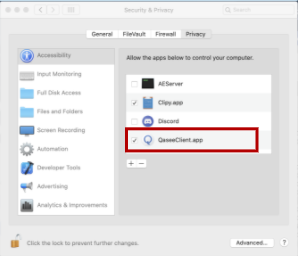
Enter your Mac’s password and check the QaseeClient checkbox.
After you check the box, the “How to set accessibility settings” message will also disappear.
- Similarly, change the settings for “Screen Recording” and “Automation” under “Security
and Privacy” in the same way.

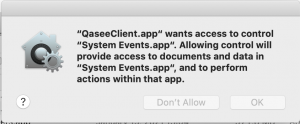
- Click “Automation” and select the QaseeClient item.
・ Google Chrome, Safari, etc.
・ System Events
Check all of the following boxes
Account settings -for macOS-
- When the following message appears, enter your email address and password that we provided separately, and click
the Login button.
- After successfully logging in, the following message will be displayed. Your settings are now complete.